Showing posts with label miniature. Show all posts

Thursday, April 21, 2011

Wee Little Bowls

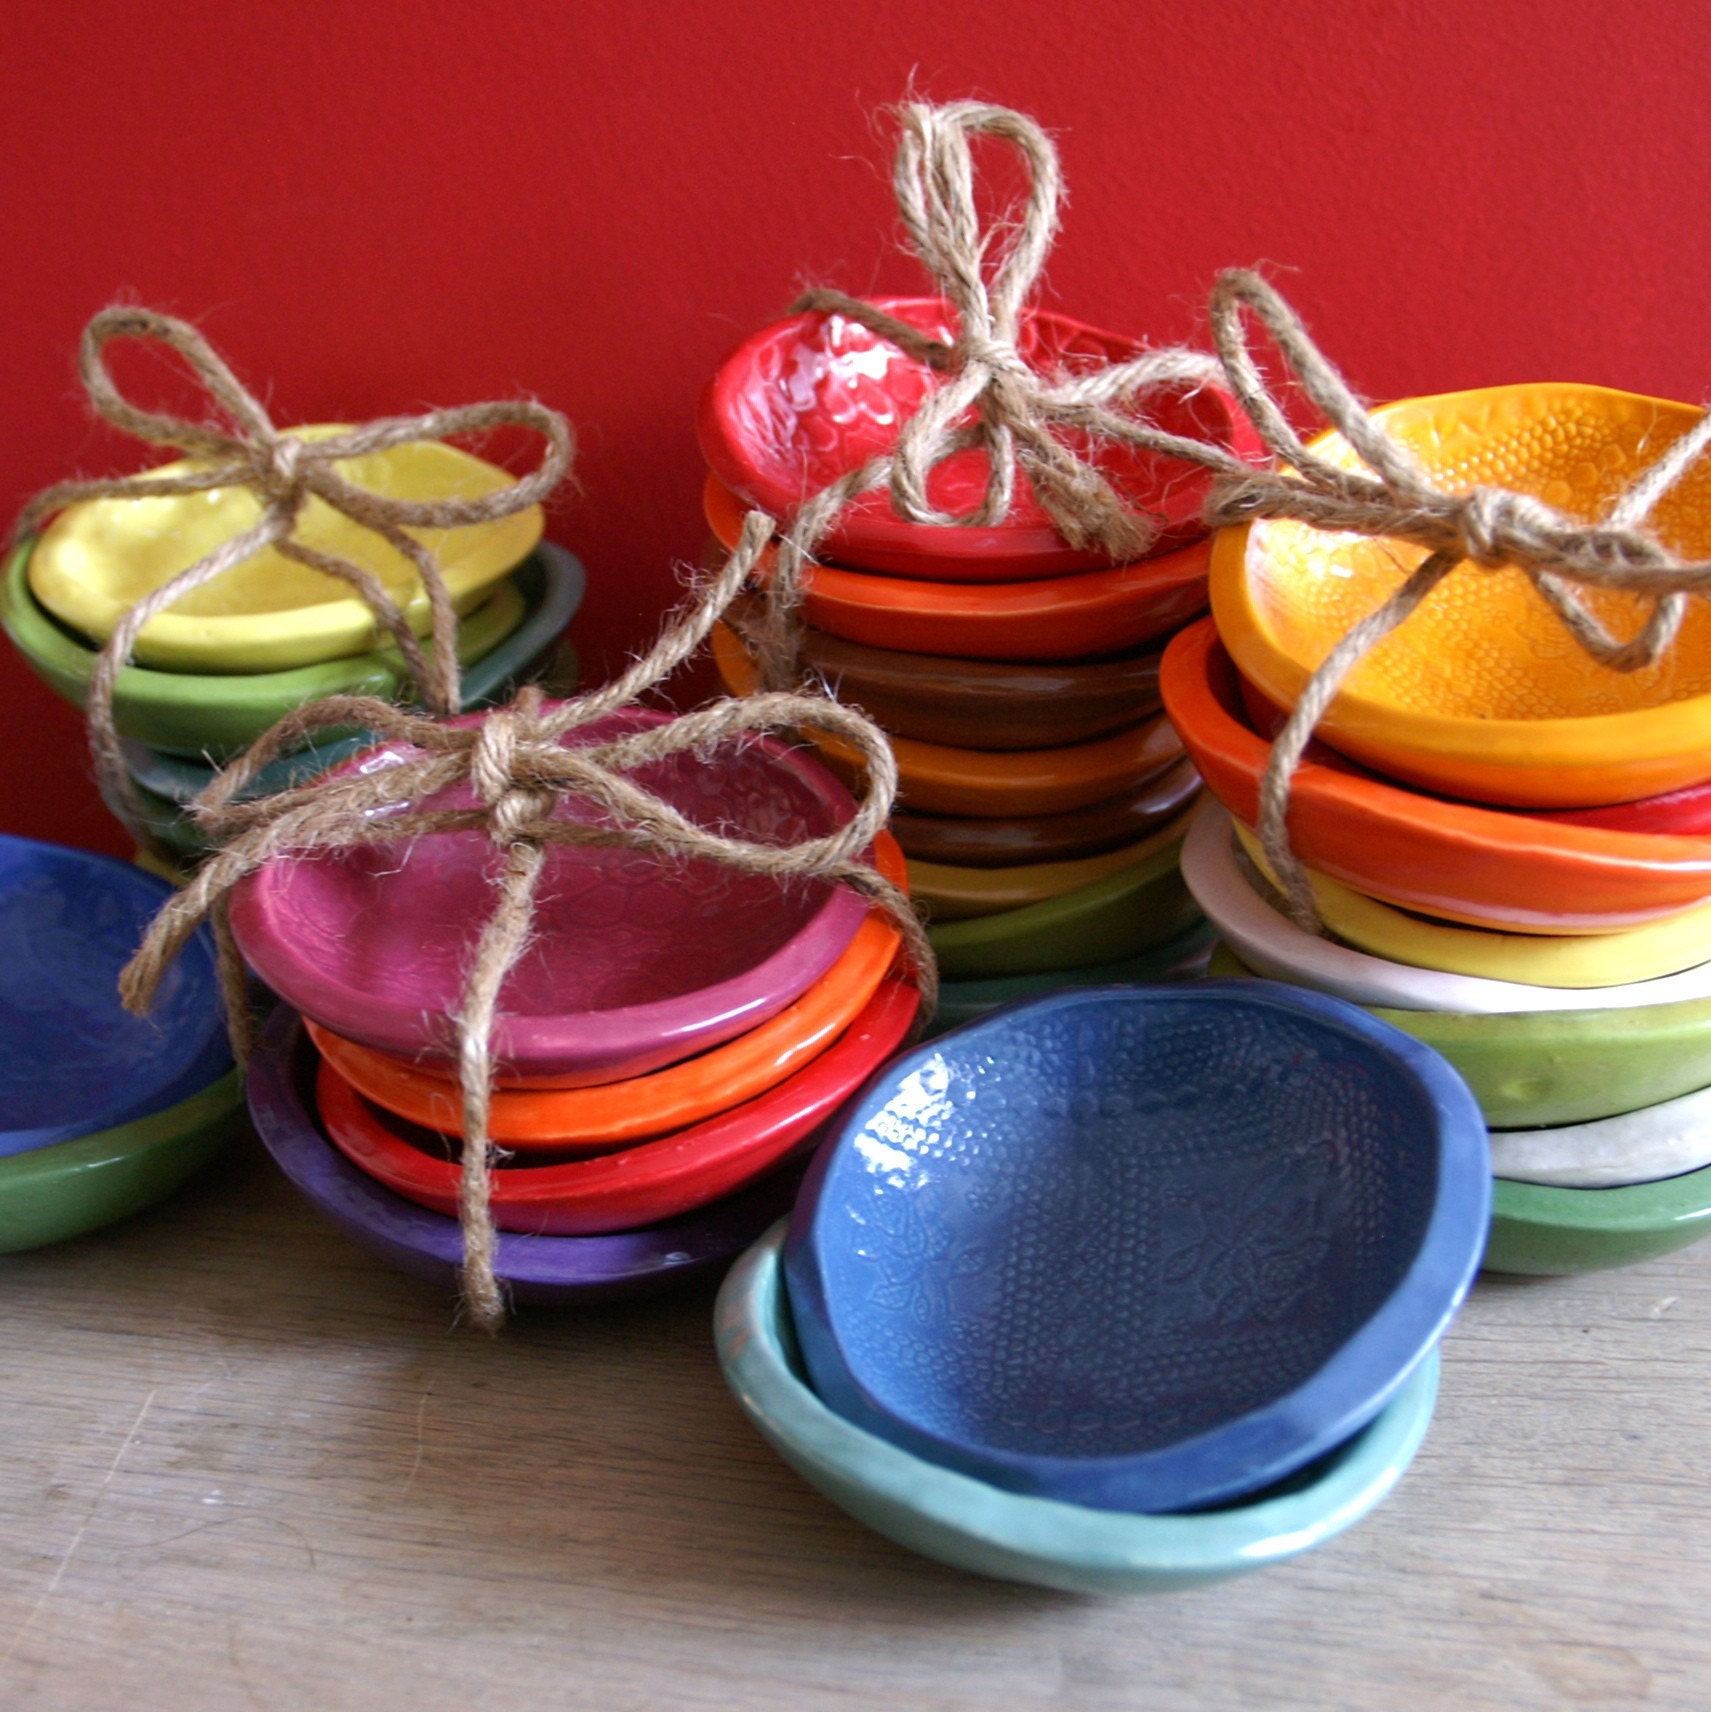
4 Cracker Bowls - small bowls in Turquoise - Yellow - Lime and Green - Wobbly Plates Series
http://www.etsy.com/listing/31493139/4-cracker-bowls-small-bowls-in-turquoise

I'm very fond of the tiny little pottery bowls. Some are thrown on a wheel, others are formed by hand and "pinched", and some are made from slabs. Whatever method is used, they are charming. Each bowl is unique in form, texture, and color. Each pottery artist has their own individual way of creating them.

Pumpkin Orange Miniature Nesting Bowl Set of 3 Handturned Mini Pottery
http://www.zibbet.com/AnitasPottery/artwork?artworkId=223743#art

Tiny Nesting Hearts
http://www.artfire.com/modules.php?name=Shop&op=listing&product_id=1749176
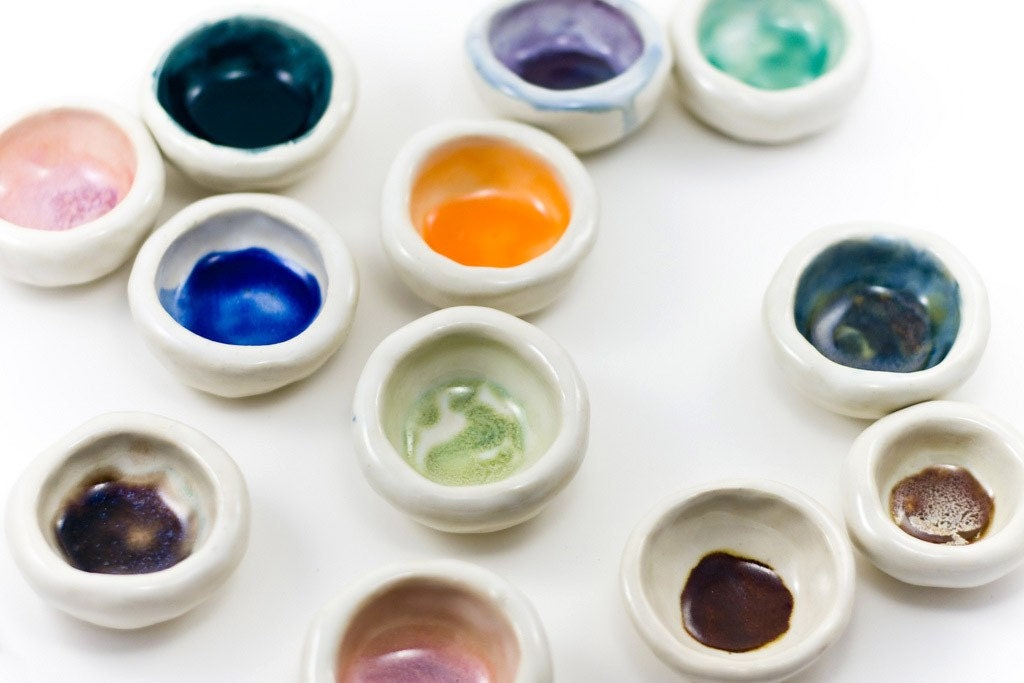
wee bowls -- set of 3 -- pansy purple
http://www.etsy.com/listing/71730277/wee-bowls-set-of-3-pansy-purple
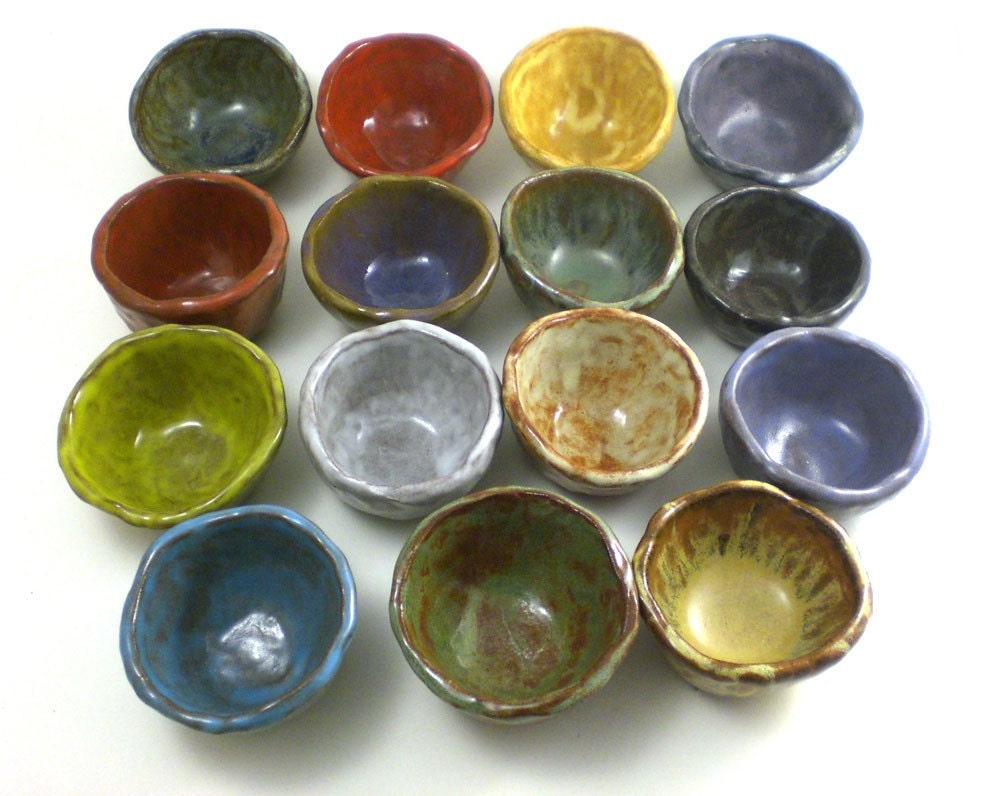
event favors -- custom wee bowls (skinny style)  -- set of 20
http://www.etsy.com/listing/63448144/event-favors-custom-wee-bowls-skinny
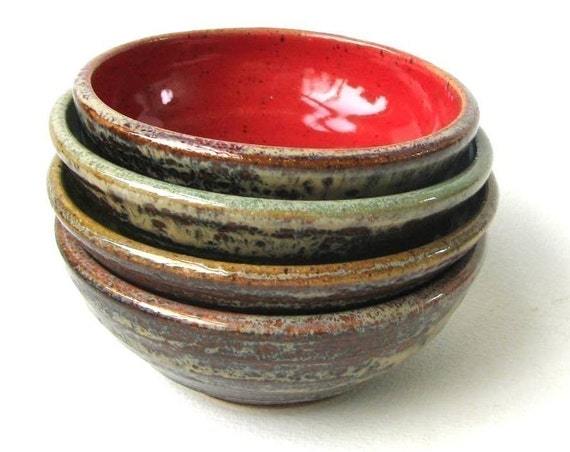
Set of Four Small and Colorful Prep Bowls CUSTOM MADE
http://www.etsy.com/listing/72009674/set-of-four-small-and-colorful-prep

My plan is to start collecting these wee treasures, to simply look at and enjoy as well as use whenever I find a need for one. They are great for dipping sauces, ketchup, to keep your rings safe, put spices in when cooking, catch your miscellaneous change, buttons, safety pins, cotton balls, little handmade soaps, and one of my favorites...used tea bags.

Check them out and I'll bet you also become a fan.

Pepper/Helmet Head

Tuesday, February 22, 2011

A FINGER MONKEY?


You might be wondering what in the world is a finger monkey! First, a finger monkey is a primate. Second, it gets the first part of its name due to it being finger size in length! This cute little primate hugs and grips on to your finger so tight that it pulls your heartstrings and you wish you could take it home with you. Finger monkeys are, as a matter of fact, pygmy marmosets. They are also known by the names ‘pocket monkey’ and ‘tiny lion’. They are native to rain-forests of Brazil, Peru, Bolivia, Ecuador and Colombia.


The head and body together measures only 5 inches, however, its tail can grow up to 8-9 inches. The males weigh up to 5 oz, and the females weigh a little over 4 oz.


Finger monkeys are exotic pets and you can and you can pick one up for $2,000 - $4,000.


A pet finger monkey needs a lot of attention. Like other primates, the finger monkey is not well-behaved initially, but can be trained. The habits that your finger monkey will learn in the first two years, will stay with it through its life. They require a lot of attention and patience. Just make sure you don't lose it somewhere! You'll never find it again.....

I want one! I really do!

pepper/Helmet Head

Wednesday, January 19, 2011

paintings

When I was in my early 20s, my dad took me to an art show. I don’t remember what the reason was at the time why we went to this particular show, but what I do remember was looking at one painting for the longest time.
It was a miniature painting done in oils and it was just beautiful! The detail was amazing and it could easily fit into my hand.
by TheNightjar

Both my father and I were in awe of this little painting.
Now you have to understand that my father was a very talented artist in his own right, so for him to be as fascinated with this little painting as much as I was, said a lot.
 by vakadi


I did a search for miniature paintings and these are a few from some very talented people. They show different mediums and totally different styles.
by BlueTrike 
by LUIZAVIZOLI

One nice thing about miniatures is that you can always find a place to display them.  And you could have a large collection of them that would take up as much space as one larger painting would.  I suppose one drawback would be if you were sitting across the room from your paintings it wouldn’t be as easy to just look and enjoy them. You might have to actually get a little bit closer to them.

by CWGFF
by GiselesGallery


by LittleShepherd
by tomsoucek


Whether you like large or small paintings it really doesn’t matter, as long as you enjoy the artwork.

(jj)

Wednesday, January 5, 2011

Wee things


Ever since I was little, I have been attracted to miniature items.
I had a dollhouse and was always making tiny little things to go in there.
The smaller the better.
I used to drive my mother nuts when I would loose a tooth and write notes to the tooth fairy. I would write it in the smallest hand writing I could and of course would always ask questions and expect a miniature answer. I know she was relieved when I finally stopped putting my teeth under the pillow.
(one of my little wee creations)

All things small fascinated me, and they still do.
                                
Handcrafted items always amaze me and then to see them done in miniature, well, that just blows my mind.

Look at these itty bitty butterflies by GodsFlyingFlowers


These miniature pottery houses by  thelittlereddoor are just adorable


This looks good enough to eat, but one would need a slightly larger portion.
                                                             mtuent


Miniature and recycled, by valeriescollectibles Wonder where I could use this?

Oh how sweet is this little album by jdayminis


Now we must not forget vintage items. There are plenty of miniature things in this department also.
Look at this little teapot charm, made from a penny!
                                                              storybookvintage

How about some mini vintage salt and pepper shakers?
                                                          withlovelouise

Now I think I have fallen in love with this mini picture….
 
                                                            rwalsh111

Some miniature steins…from chapelworks

I could go on and on…. there are so many really cool items, handmade and vintage, but this is supposed to be a mini post and I cannot take up everyone’s spot for the next week….lol
(well… I could, but they may get mad at me…)

Have a wonderful day and remember good things come in small packages.

(jj)

Tuesday, October 5, 2010

Yes, You Can Do It!

Have you ever wondered how something is created? I discovered a new technique while on a trip and decided to try my hand at it, and take pictures of the steps as I went along. Here are the results.

Step One: I selected the background paper from my stash of scrapbook paper (don't use card stock) and a 3" X 3" square, stretched canvas. Measure the canvas and around the edges allowing enough scrapbook paper to cover completely. ( A 3 X 3 stretched canvas took a 5 X 5 piece of paper.)


Step Two: Spray the background paper with two coats of matte finish. This protects the paper and gives a good painting surface.

Step Three: Center and base coat your design. If you don't feel comfortable painting freehand, tracing is a great option. TIP: I cut out a second square the size of my paper, centered the canvas and traced around it, then cut out the center square. Put this on top of your background paper and you will be able to easily center your design.

Step Four: Apply shading and details to your painting. When the painting is complete and dry, spray with another coat of matte finish.


Step Five: Apply your words. These can be free hand, rub-ons, or stamped. Which ever works for you. Remember to add your signature. Spray with another coat of matte finish. I let this dry overnight to make sure it was completely dry and cured.


Step Six: To center the painting on the canvas I layed my cut out paper down first, placed my canvas over the cut out section, then placed my painting on top of this. Because the cut out and the background paper are the same size, if you line up the sides, your design will be centered.

To glue the background paper/painting to the canvas I used Liquitex Matte Gel (Medium) and applied it to the back of the paper and the canvas and let it dry. I think white glue would work fine. Let this dry. Fold the sides over and glue using the same method. Let this dry.


Step Seven: The final step is to cover the entire piece (top and sides) with either a glazing medium or a liquid poly finish. I used two coats of glazing medium, just because I like the depth of color it gives. I would think you could use a spray gloss or satin gloss also.


I hope you have fun with this. It really comes together quickly, the only waiting is for the piece to dry between steps.


pepper